
Five Legs Are Better Than Three
- ourtinycamper
- Mar 20, 2022
- 2 min read
Updated: Apr 4, 2022
The Free Romo Solo (BushWacker 15fk) comes with a pair of stabilizers on the back of the camper, which combined with the tongue jack do provide pretty solid base, but we still felt some movement when we were set up camping. So we wanted to add some additional stability to our little home away from home. BTW, these have the same connector as the factory installed on the back, so whether you hand crank, or use the drill adapter Slotted Jack Drive, it will be exactly the same!
Breaking it Down
This is a pretty straight forward installation. The stabilizers come with self taping screws, and there isn't much in the way of installing these. We also order the feet, and you will find all of the materials at the bottom.
To do this install you will need a drill (Prefer corded on this one), drill bits, and a bit for the screws. Because I was installing this myself I would also grab a marker. I'll explain why in a moment.
You will be on your back the majority of this, so I strongly recommend a pair of safety glasses. With the self taping bits there is always metal shrapnel flying. You don't want that crap in your eye...
Let's get to the install!
To start this install, I started on the passengers (camper door) side. This is the easiest side to install.
Holding the stabilizer in place use the marker to circle each hole. This will make it far easier for the install.
Drill a hole slightly smaller than the tip on the self tapping screws (STS's). I do this when I know the metal is easier and it helps the end of the self taping screw to not slide around.
Using the STS screw, go ahead and finish the hole and let the threads run about half way in then back it out.
Now... Holding the stabilizer up, One at a time sink the STS's in the pre-drilled holes but do not fully tighten. That way if you need to adjust you can. Once they are all in, tighten them down.
On the Drivers Side:
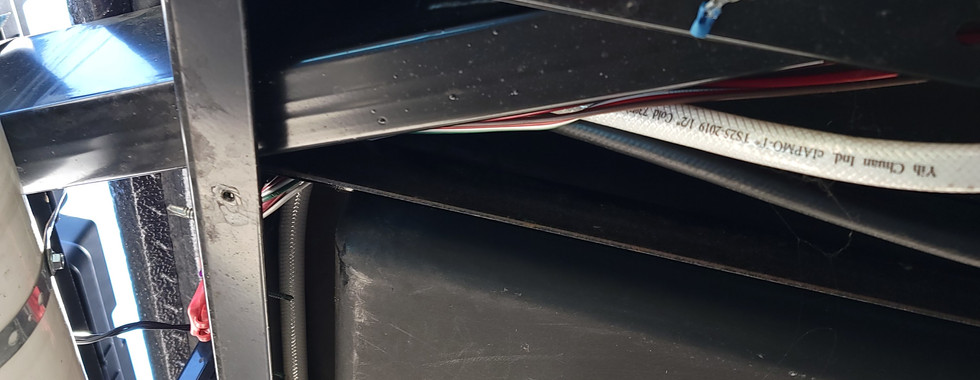
Before you can start the drivers side you have to move the Main Propane line coming from the regulators. To do this remove the screws from the hose straps on the tongue and on the back frame so you can slide it around. Leave it loose until you install the stabilizer (See steps 1-4 above). Once you have the stabilizer on and tight you can use the STS Screws that you removed from the straps to set them in a new spot and redirect the main propane line.
Photos


Materials List

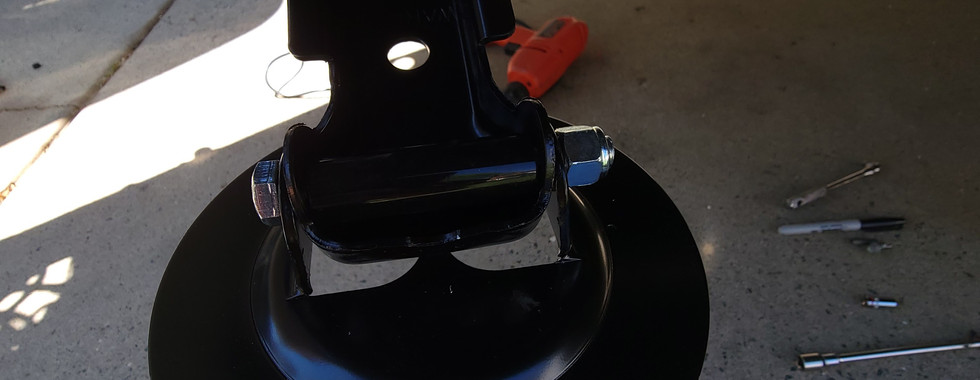
BAL 23026 Tent Trailer Stabilizer - 20"
$36.99
Ideal replacement for Atwood, Fulton and other non-screw design corner stands.
Bolt-on application; mounting hardware included.
700 lb. lifting capacity and 1,000 lb. load capacity per jack.
Rust-inhibiting E-coating for long life.
Set of 2, includes crank handle with 14" shaft reach

BAL 23035 Light Trailer Jack Base Pads
$32.19
Pack of 4
6" diameter pads
For use on Light Trailer Stabilizing Jacks.


Comentarios